
Fitness Citadel Trainer Guide
Below is a high‑level user guide for Trainer of FitnessCitadel platform
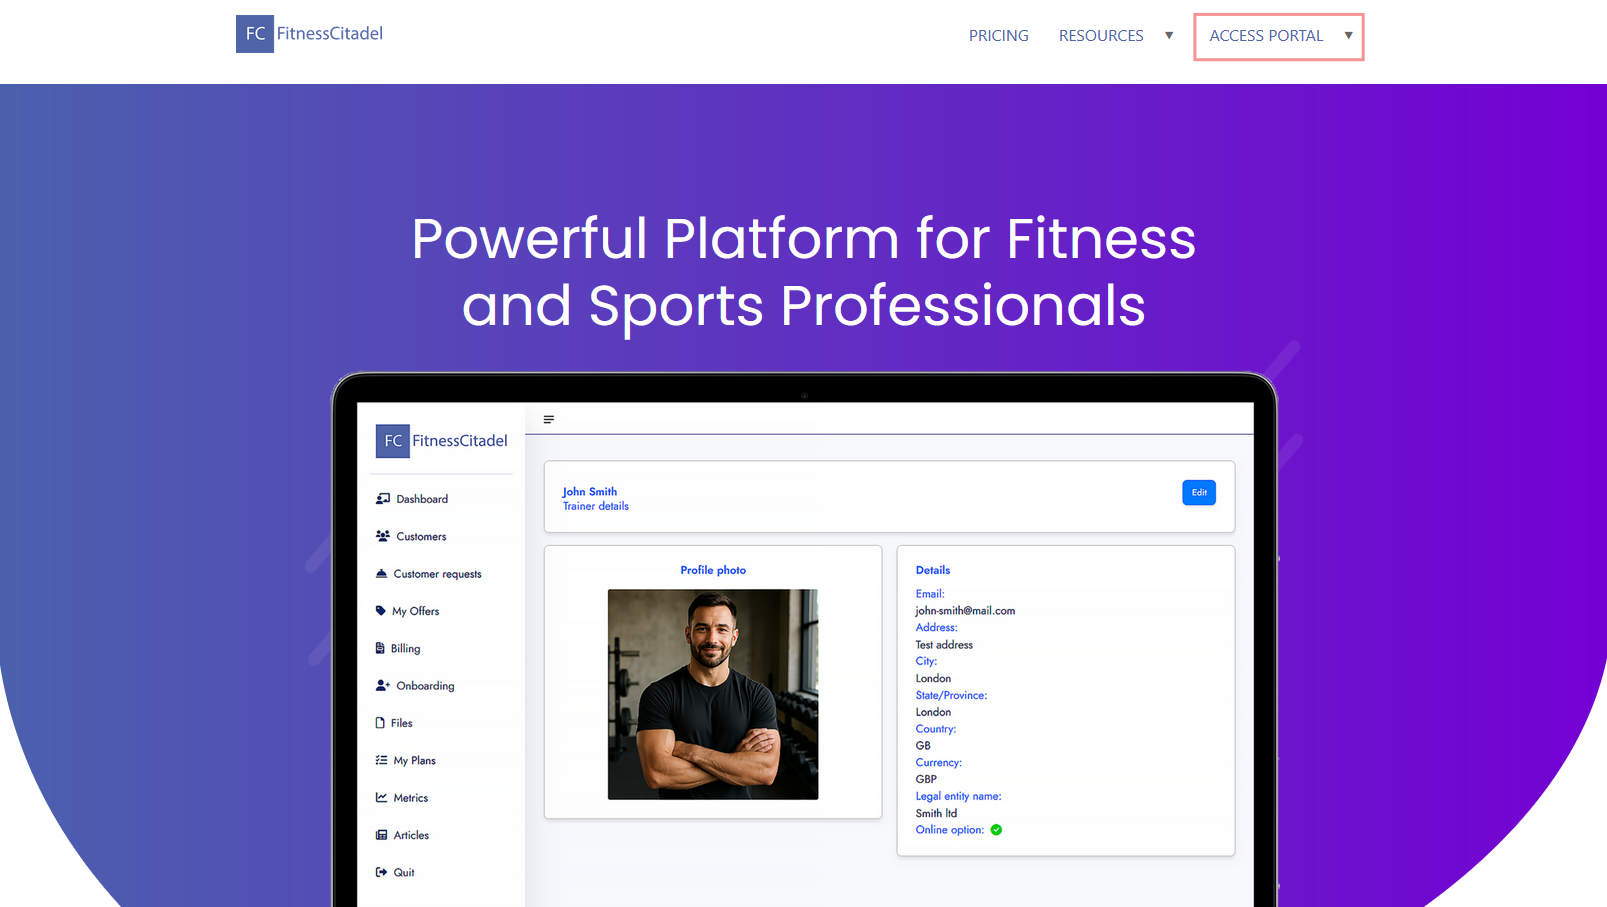
Registration and Sign In
– Visit the Fitness Citadel home page and open the main menu. Hover over ACCESS PORTAL and click Trainer / Org Sign In fill out your credentials to Sign In to your account.
– Don’t have an account yet? Go to the Pricing page and select a plan that fits your needs. Follow the registration steps to create your Trainer account.
– Once the process is complete you’ll be able to sign in to both:
Your Fitness Citadel Trainer account
The Billing Portal to manage your subscription
– Please be aware, if you create a Trainer account, you won’t be able to switch to Organization account later — and vice versa. Please choose your account type carefully. However, you can always create a new account of a different type.
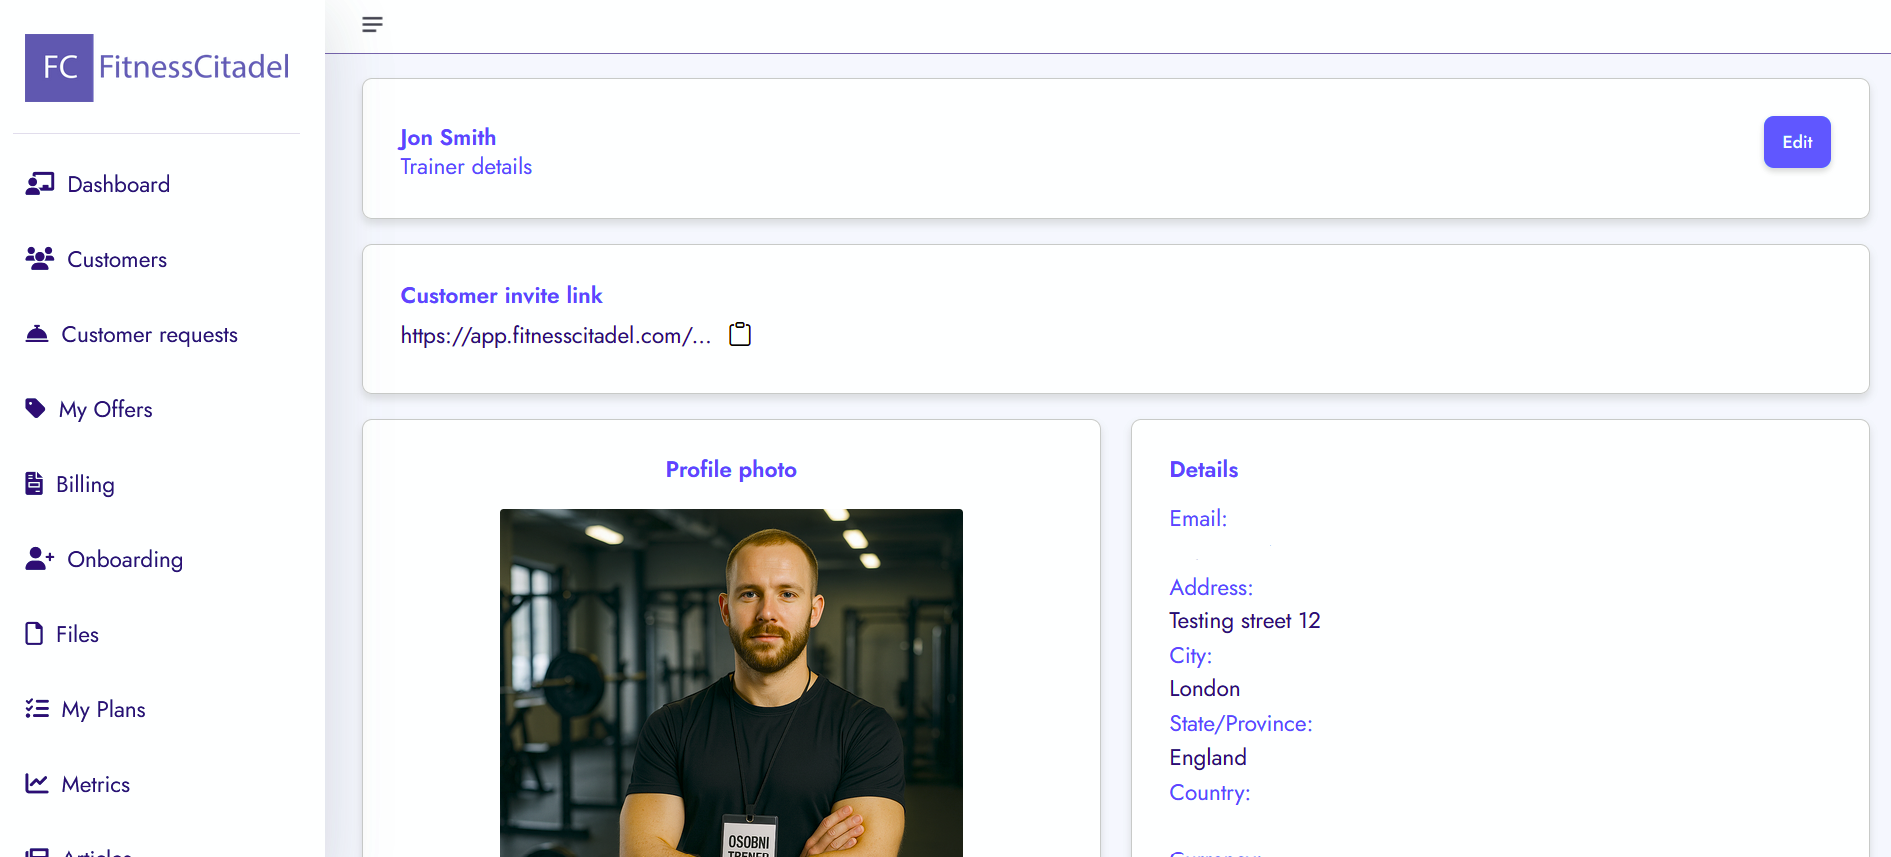
Dashboard Overview
– The dashboard gives you a quick overview of your trainer profile, with the ability to edit your personal details.
– Customer Invite Link – Copy your unique invite link to share your profile and available offers with prospects.
– Profile Photo & Details – View and update your profile picture, email, address, and other personal information directly from the dashboard.
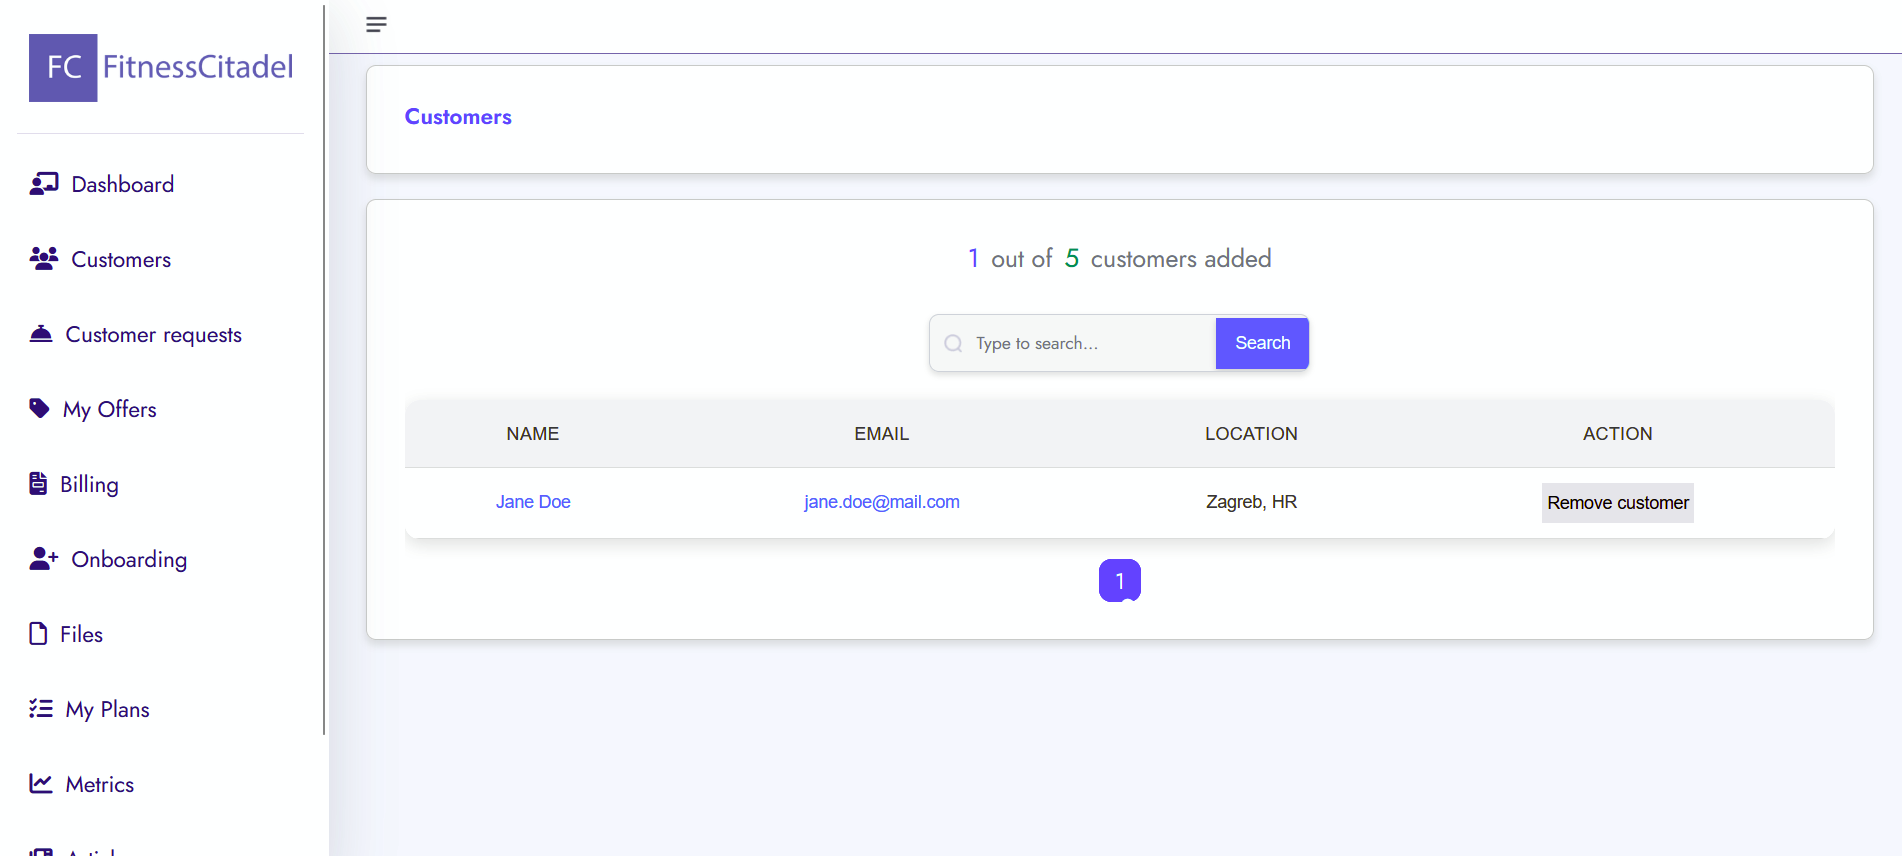
Customers
– The Customers app displays a list of all your current customers, along with your total customer count and the maximum number allowed by your subscription plan.
– For example, if your plan includes a limit of 5 customers, you won’t be able to onboard more than 5 until you upgrade your plan.
– By clicking on a customer record, you can view their basic information, including name, email, location…
– You can also remove a customer if they are no longer active, which will free up a slot within your customer limit.
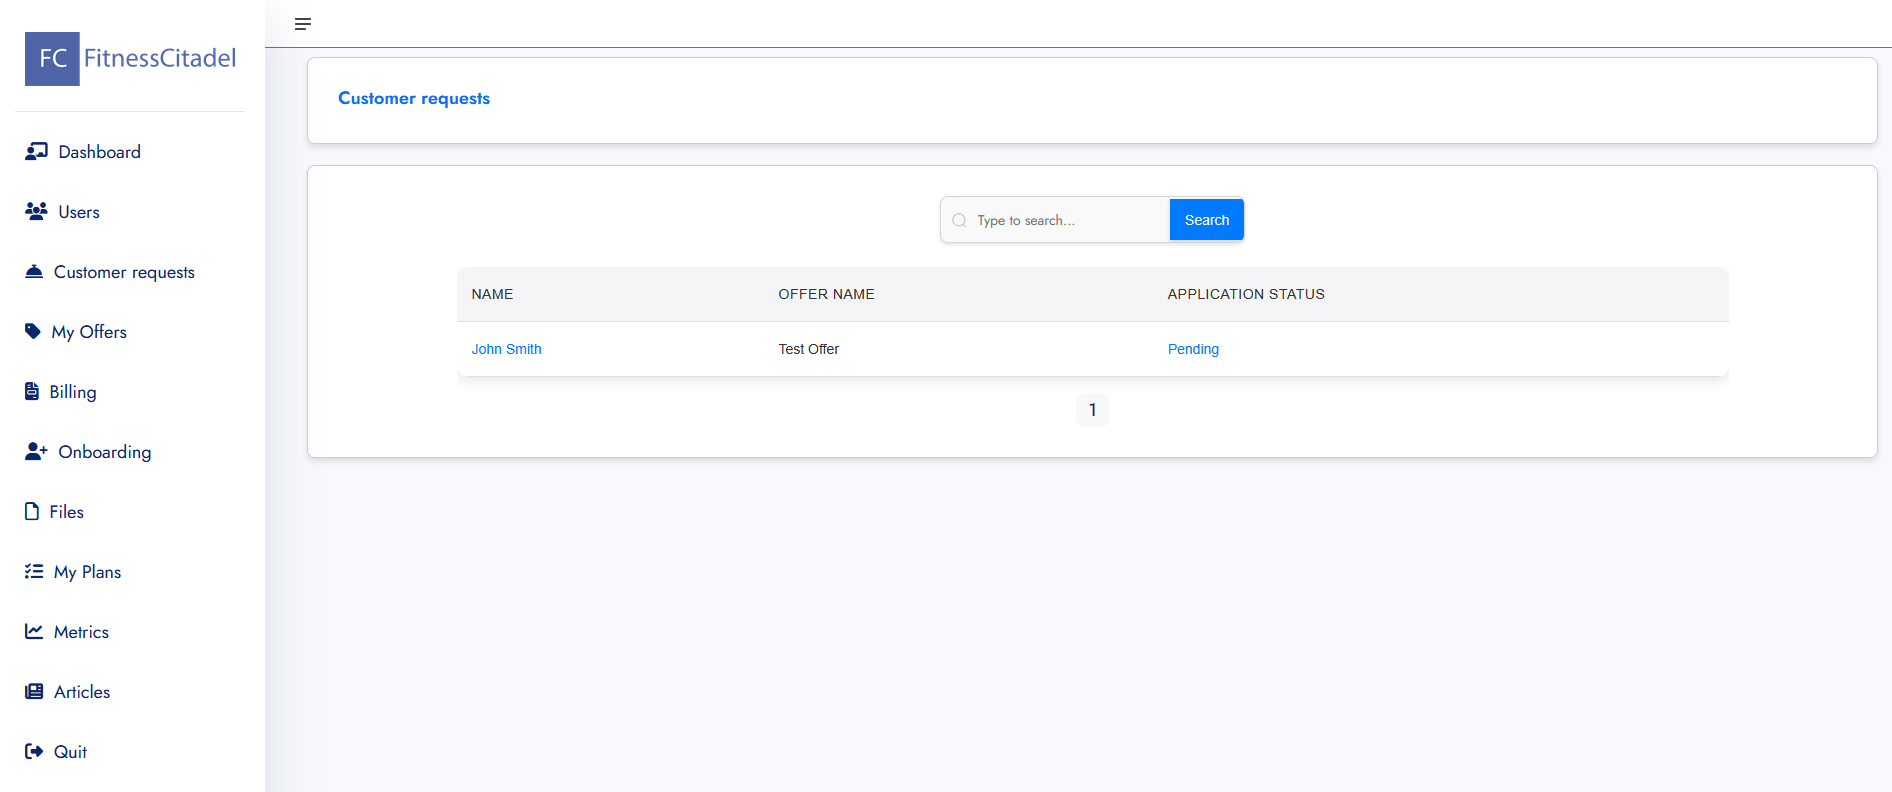
Customer requests
– The Customer Requests app allows you to view and manage incoming training program requests from your customers.
– Each request contains key information such as the customer’s name, email, selected offer, submission date, and current status (e.g. Pending, Approved, Rejected).
– If the customer completed a Custom Application Form, submitted answers will be shown. If no custom form is present, the Default Application Form message is displayed.
– You can approve or reject a request. Approved requests automatically clone the associated plan and assign it to the customer.
– Approved customers are added to your customer list and count toward your active customer limit.
– If necessary, you can still reject an already approved request using the “Reject request” button.
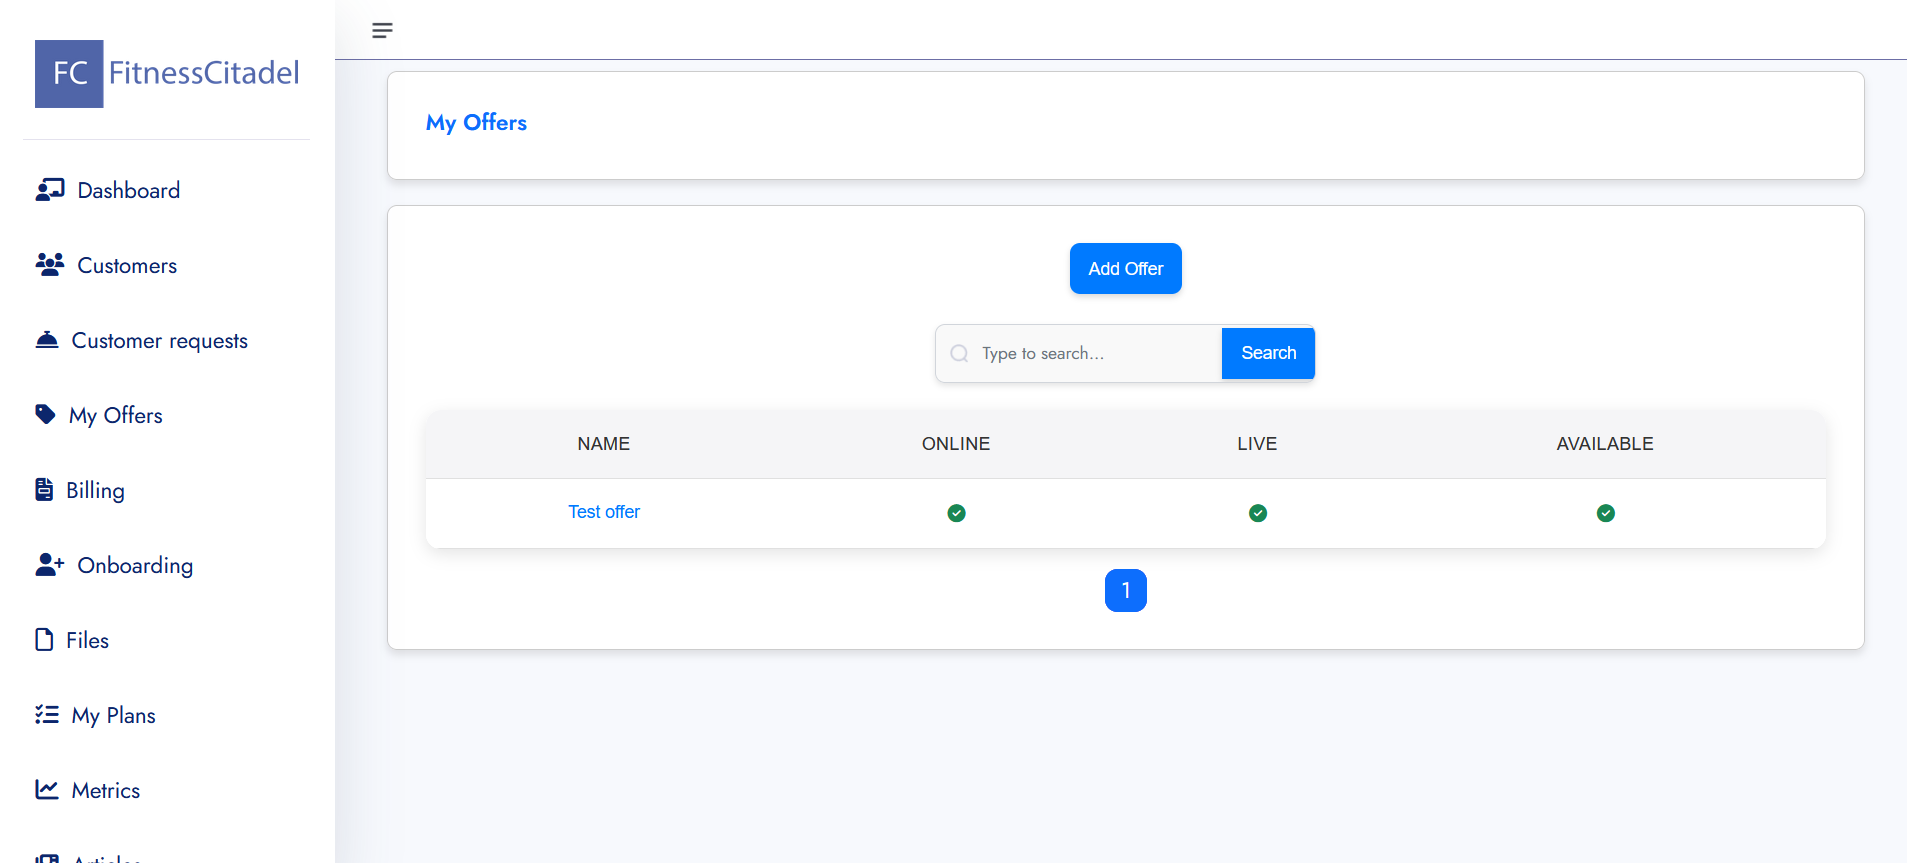
Offers
– The Offer app allows you to create, manage, and present training offers to potential customers. Each offer includes details such as program type (online, live), availability status, description, pricing, and media content.
– You can upload images and videos to visually showcase your program and help customers understand what they’re getting.
– Each offer must be linked to an existing training plan, which is delivered to the customer upon approval.
– You can define pricing structures by listing one-time services like training plans or consultations, as well as subscription-based options if applicable.
– Customers applying for an offer will see the offer’s image, description, and pricing before submitting their application.
– Once created, offers are publicly accessible via your invite link and can be shared across platforms like Instagram or your website.
– Offers can be edited or deleted at any time. Removing an offer will not delete the associated plan or past applications.
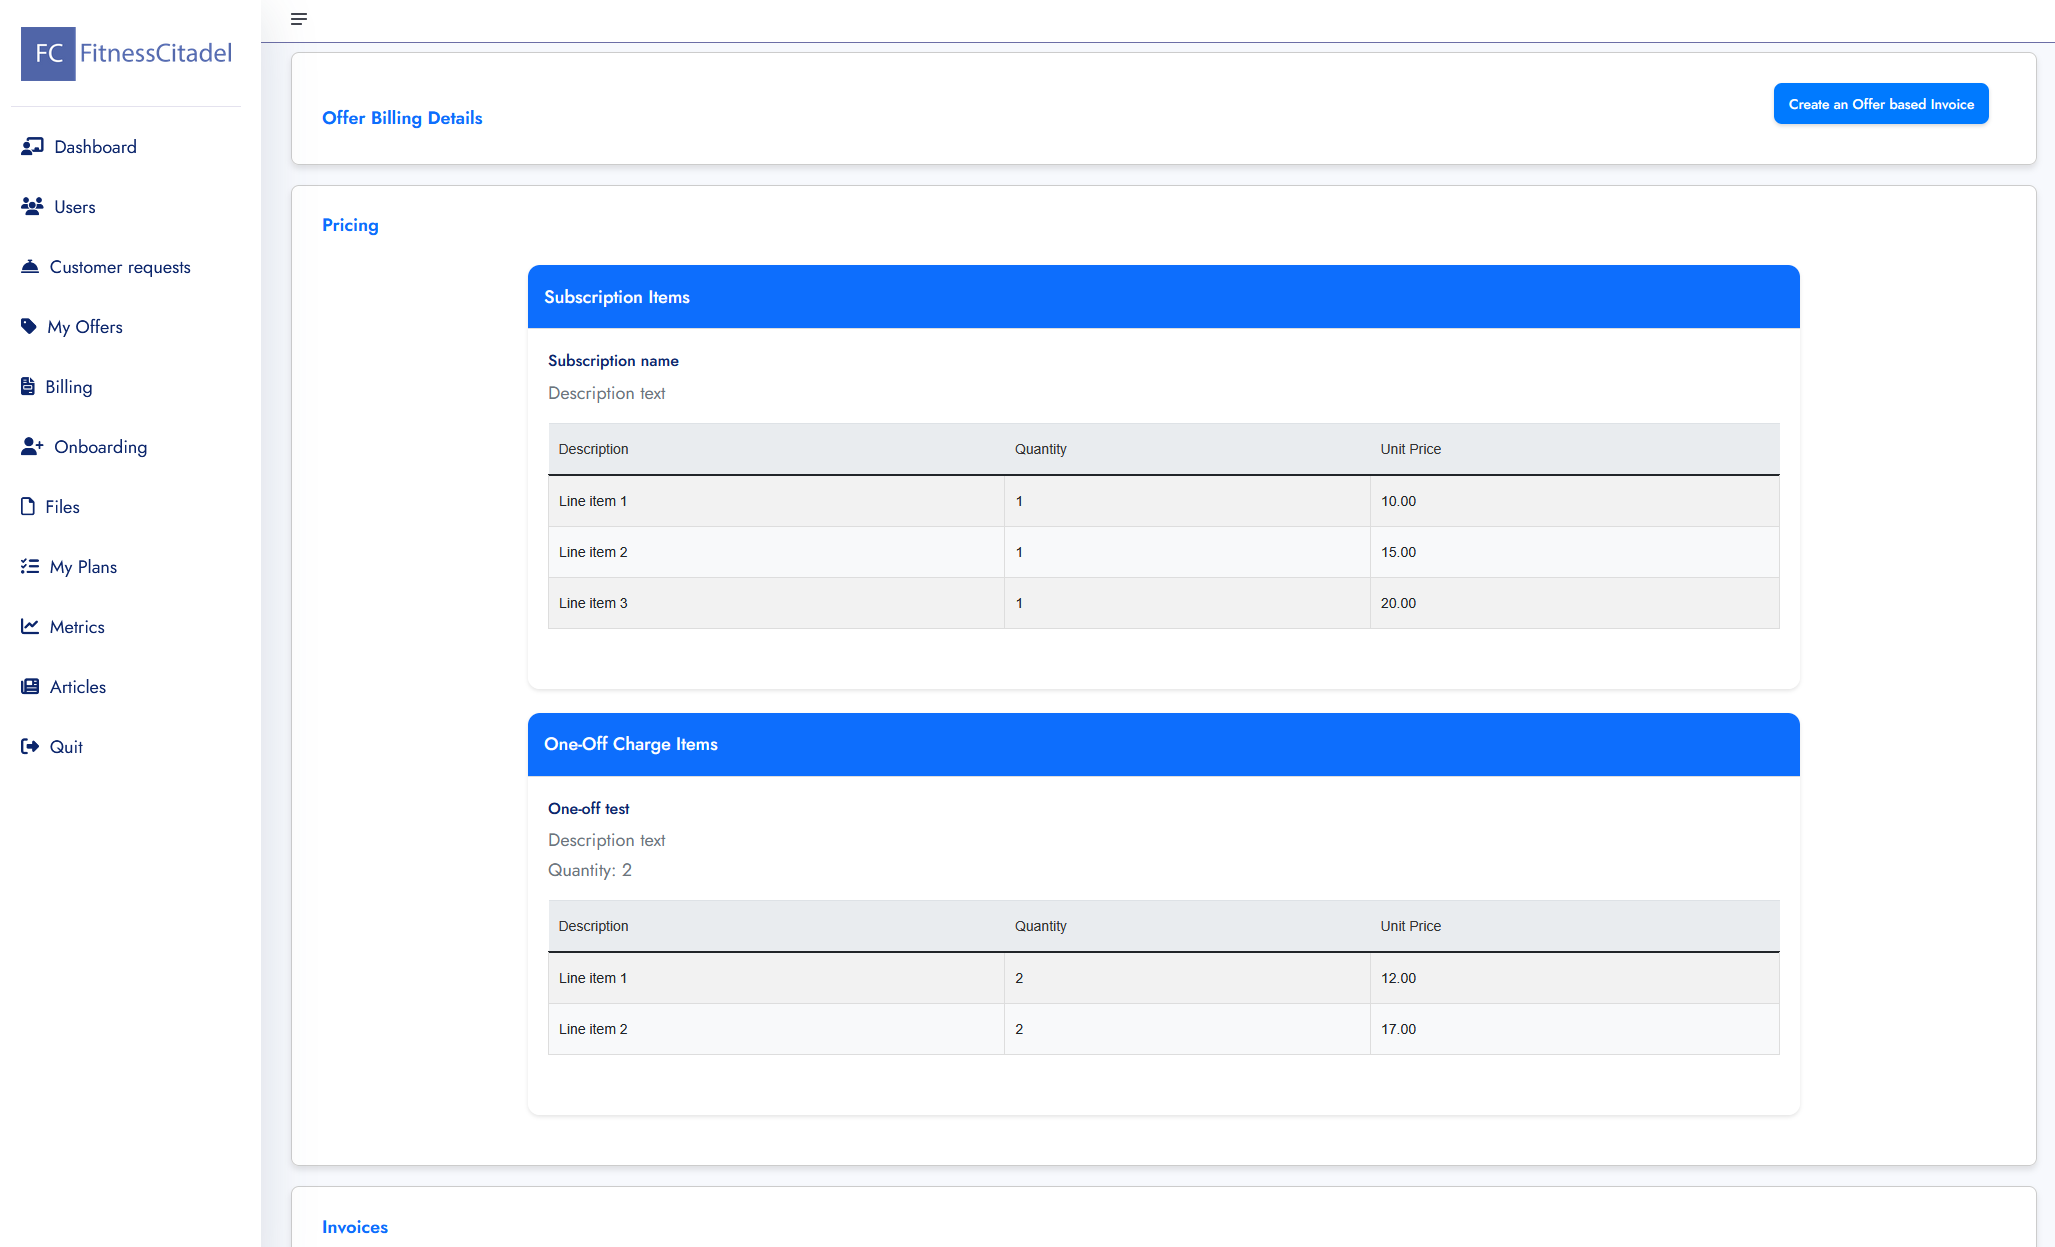
Billing
– The Billing app allows you to manage pricing, generate invoices, and track payments related to your offers.
– Each offer can include subscription items (recurring) and/or one-off charges (single payments), which are clearly displayed under the pricing section.
– For one-off charges, you can list multiple items such as workout plans, consultations, or additional services, each with its own quantity and unit price.
– Use the Create an Offer-based Invoice button to generate a professional invoice based on selected pricing details.
– All generated invoices are listed below, showing the invoice ID, issue date, due date, and options to download the invoice or receipt.
– This provides a clear record of all customer transactions and helps you maintain control over your billing history.
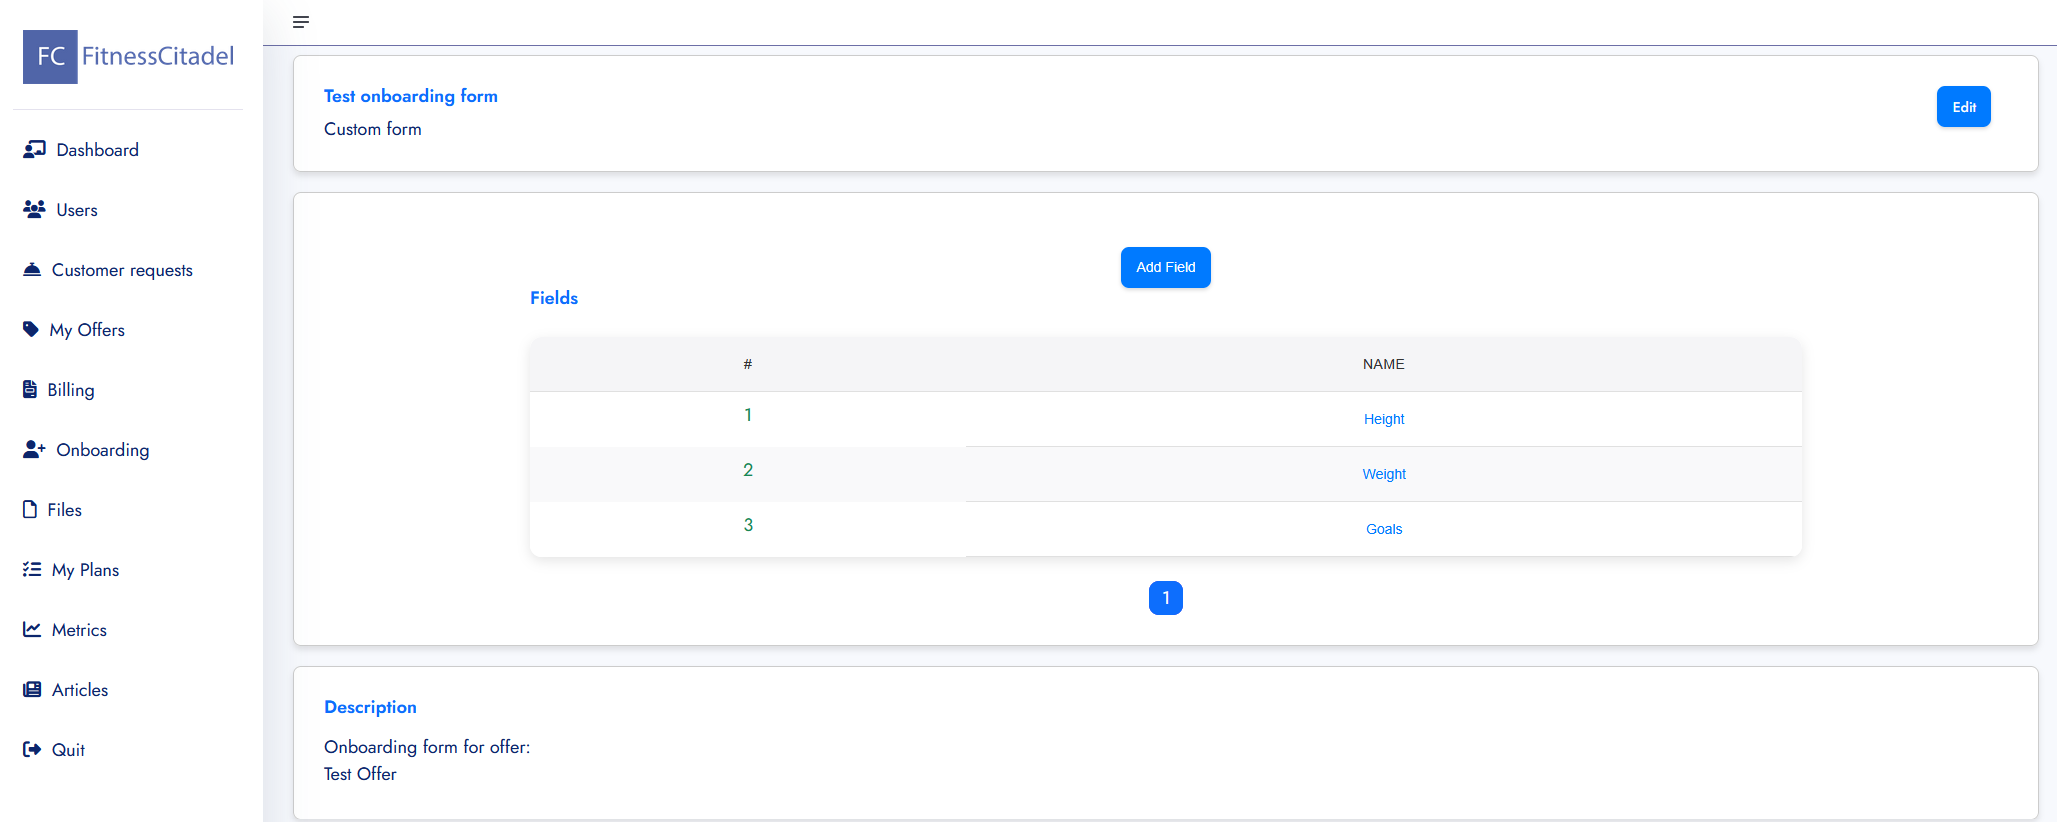
Onboarding
– The Onboarding app allows you to create and manage custom application forms for your offers. These forms help you collect important client information before approving their request.
– Each form is linked to a specific offer and can include multiple fields (e.g. Weight, Height, Fitness Goal), which can be added, edited, or removed at any time.
– When a customer applies for offer with an on-boarding form, their responses are stored and displayed within the request details, helping you assess their needs and tailor your approach.
– You can create different on-boarding forms for different offers based on the nature of the program or services you provide.
– If no custom form is attached to the offer, the default application form will be used instead (simple message input only).
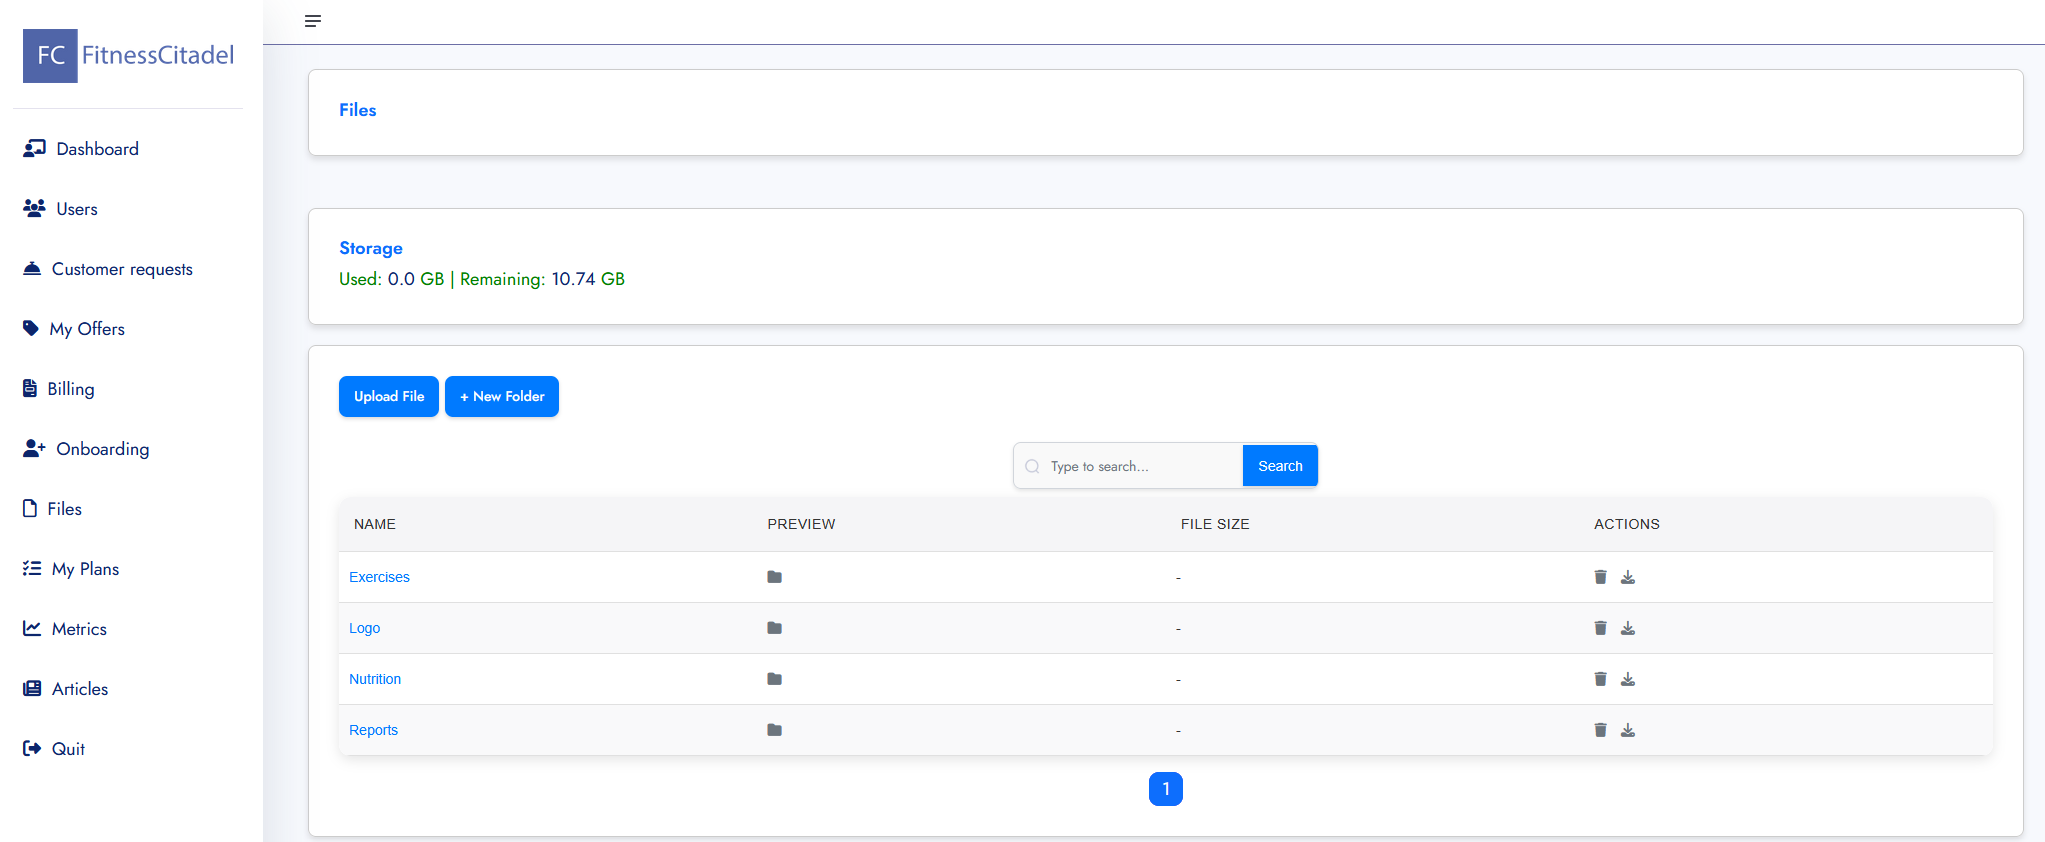
Files
– The Files app allows you to manage your personal file storage space within the platform. You can upload and organize files into folders, such as images, documents, logos, and more.
– Use the Upload File button to add new content and + New Folder to keep your files structured and easy to navigate.
– The top section shows your current storage usage, including the space used and remaining storage quota.
– Each file or folder entry includes options to download or delete the item.
– Uploaded files (e.g. logos, images) can later be linked to offers, articles, or your trainer profile where needed.
– You can also use the search bar to quickly find files by name.

My Plans
– The My Plans app allows you to view, create, and manage your workout plans. Each plan can be either:
Generic – a public plan not assigned to any individual (reusable across offers),
Custom – a cloned, personalized plan assigned to a specific customer.
– You can search through your plans or create a new one using the Add Plan button.
– Inside each plan, you can:
Edit description, define training structure, and organize the program by weeks and days.
Add or clone weeks, and within them define daily tasks (exercises) with descriptions and order.
Assign trainers to collaborate on the same plan.
Use the Notify button to send updates to trainers.
Add comments and upload attachments to improve communication during plan creation.
– Recommend relevant articles to customers directly from the plan interface.
– Plans can be visualized through a plan map view, showing how different days and tasks are connected.
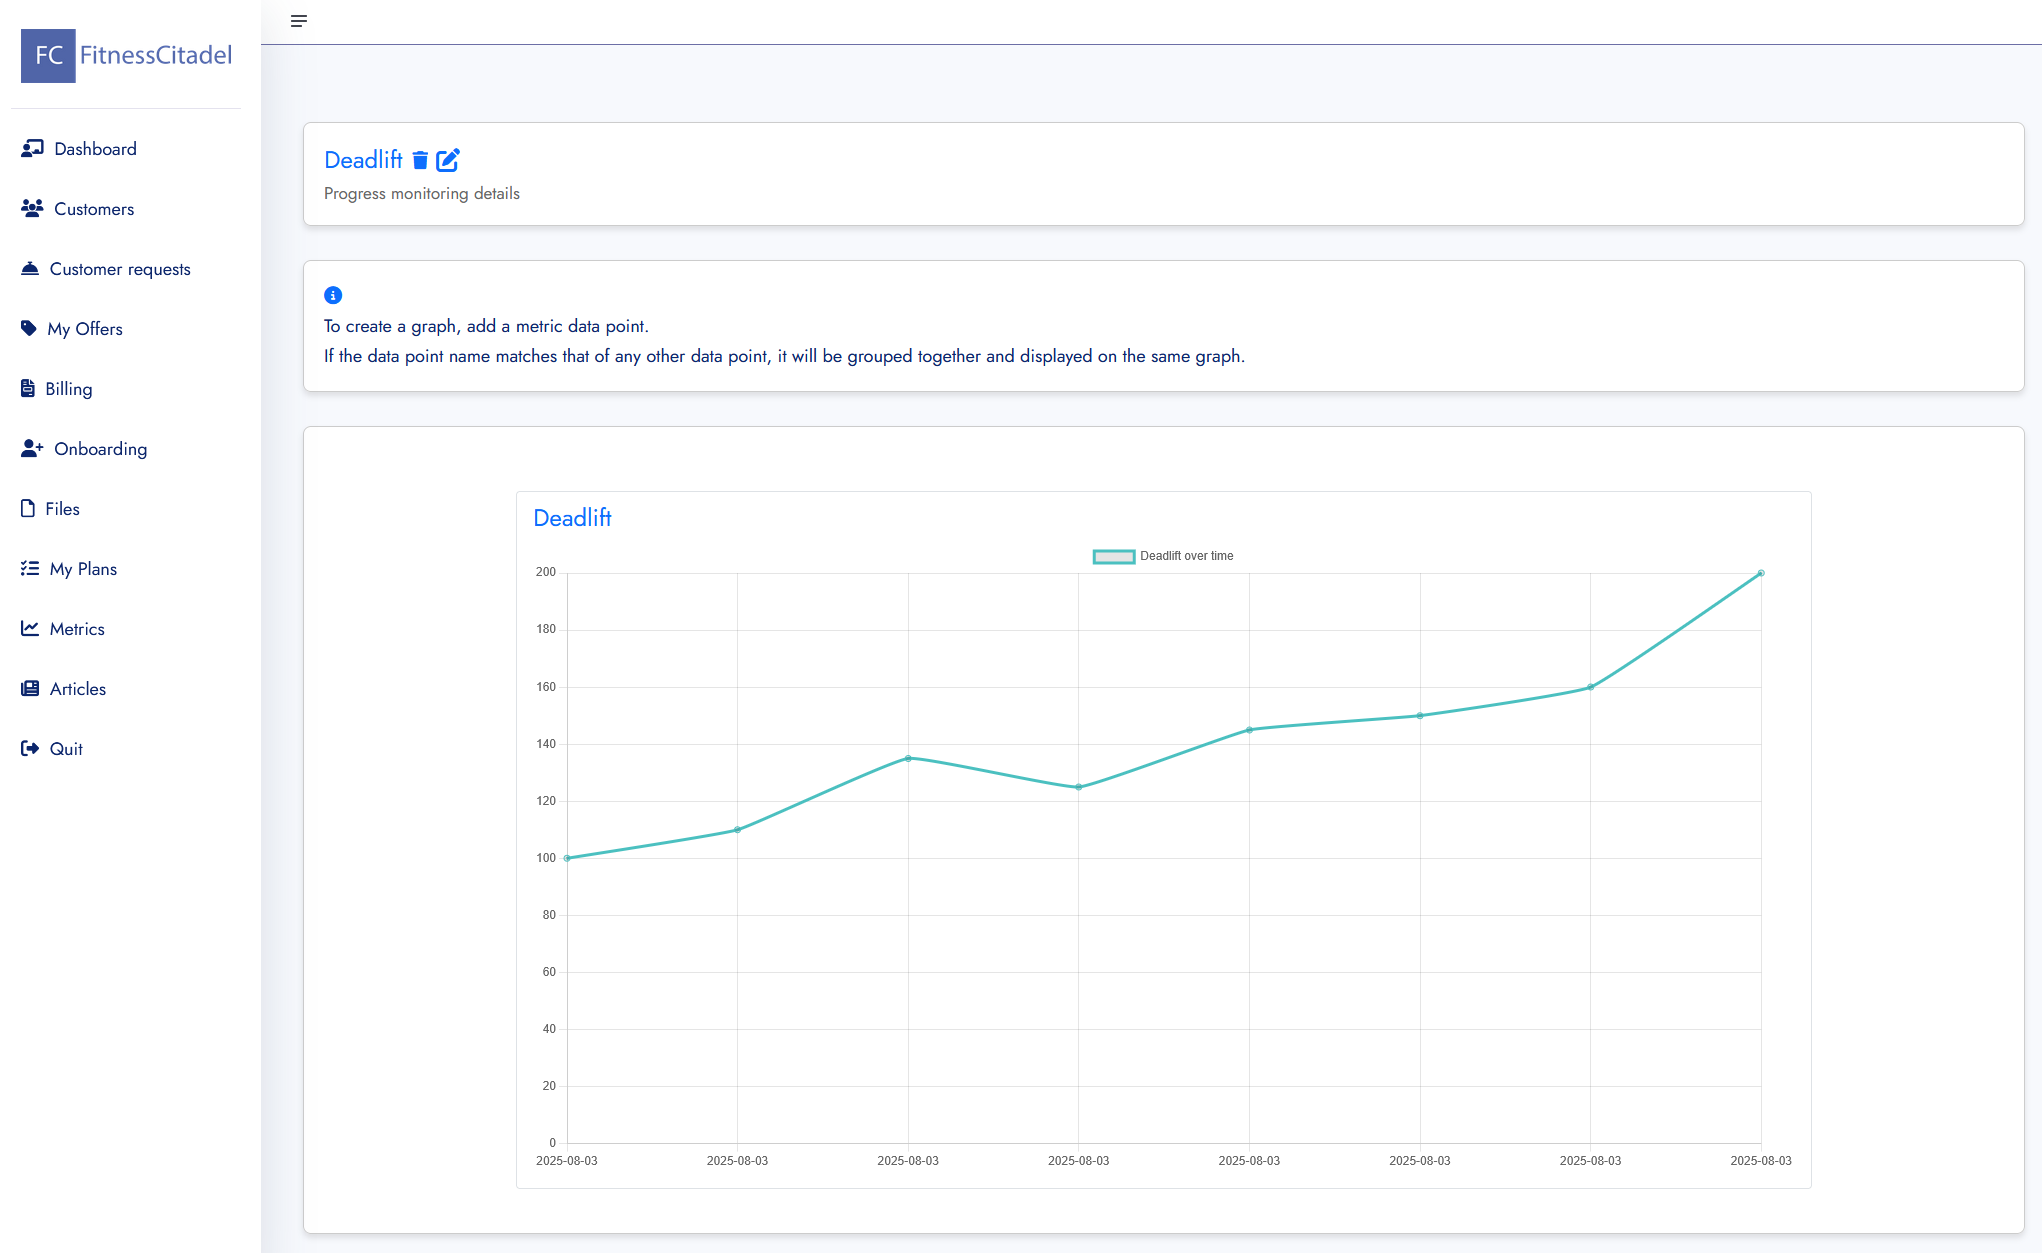
Metrics
– The Metrics app allows you to track and visualize your customers’ progress over time using custom performance data points (e.g. strength PRs, bodyweight, measurements).
– You can create a metric (e.g. Deadlift) and then add one or more data points with the following attributes:
Name – label (e.g. “Initial”, “Test 1”, “Week 4”, etc.)
Value – numerical result (e.g. 105.0 kg)
Description – optional context (e.g. “First PR test”)
Photo – optional image (e.g. progress photo or screenshot)
– Metrics are automatically displayed on a graph, allowing you to track progress over time. Data points with the same name (e.g. “Deadlift”) are grouped into the same graph for comparison.
– You can delete or update existing data points at any time.
– This tool helps trainers and clients monitor improvement in key areas and stay motivated.
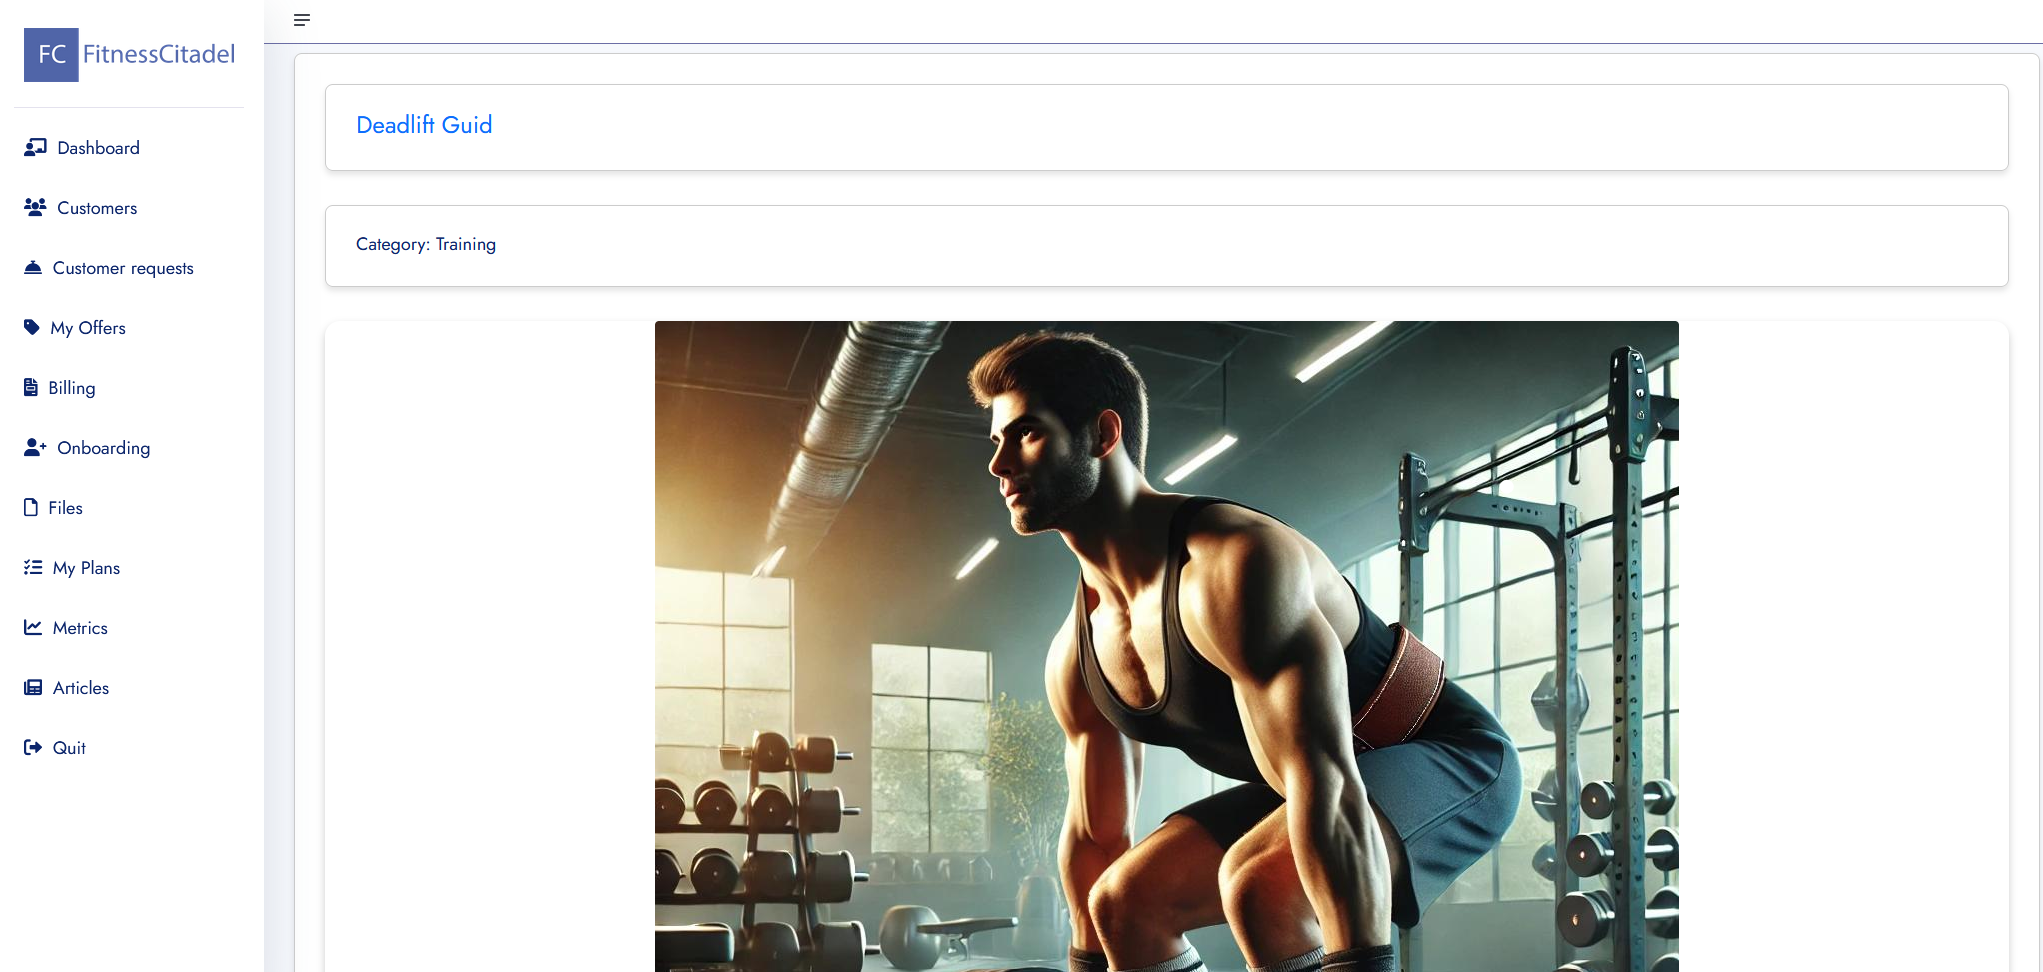
Articles
– The Articles app allows you to create, edit, and share informative or instructional content with your customers. Articles can be used for educational purposes, exercise explanations, motivation, or guidance related to specific plans.
– Each article includes a title, category, sections, and optional images or videos to enhance clarity and engagement.
– Articles can be marked as:
Finished – content is complete and ready to be shown to customers.
Published – content is visible publicly outside your trainer or organization account.
Unpublished – visible only to you and not accessible to customers or public users unless linked to a plan.
– Customers can view an unpublished but finished article if it is referenced within a plan they have access to.
– You can add sections to divide content into structured blocks, and reorder them as needed.
– Articles can be edited or deleted at any time and are accessible through both the Articles app and directly within training plans.
Help and Support
If you have any questions, feel free to contact us at support@fitnesscitadel.com.